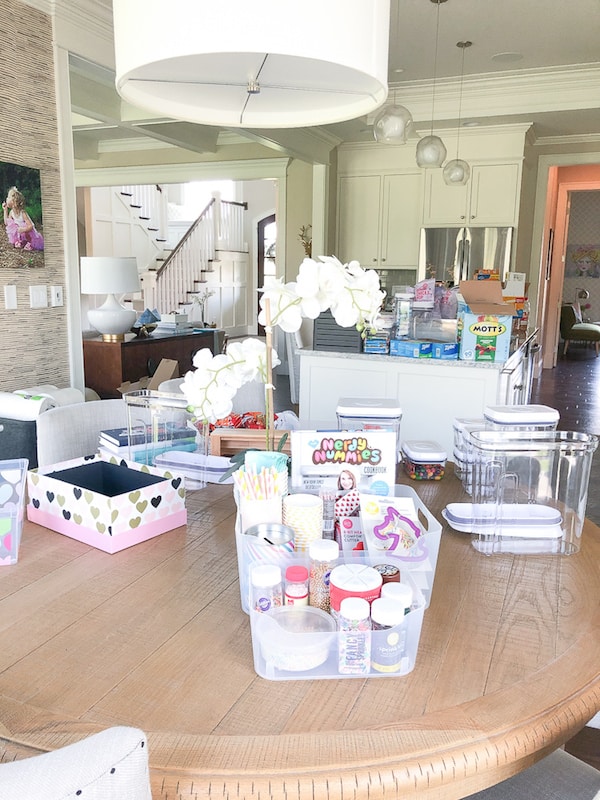
I’m about to get REALLY honest with you … when I started writing this post, I had not yet embarked on my own pantry organization project. I had all of my fun storage containers and baskets sitting on my pantry floor … but I was just too OVERWHELMED to get started!
If you feel the same way (i.e. overwhelmed to the max) when you think about organizing your pantry, keep reading! I’ll share the organization steps I took as I made my way through my own pantry project. All it takes is one afternoon of dedicated time to this project!
After reading my walk-in pantry makeover + organization tips, you’ll realize that you can EASILY do a very similar makeover on your own pantry! Are you IN?!
This post contains affiliate links for your shopping convenience. I may receive a small commission at no additional cost to you. Thank you for supporting my blog so I can continue to bring you fresh content!
WALK-IN PANTRY MAKEOVER + ORGANIZATION TIPS
1 | ORDER STORAGE CONTAINERS BEFORE YOU START YOUR PROJECT!
I ordered all of my storage containers a couple of weeks before I was ready to start this project. This gave the items plenty of time to arrive and for me to unpack it all. Here’s the deal … once you finally build up the guts to clean out your pantry, you need to have your storage ready and waiting!
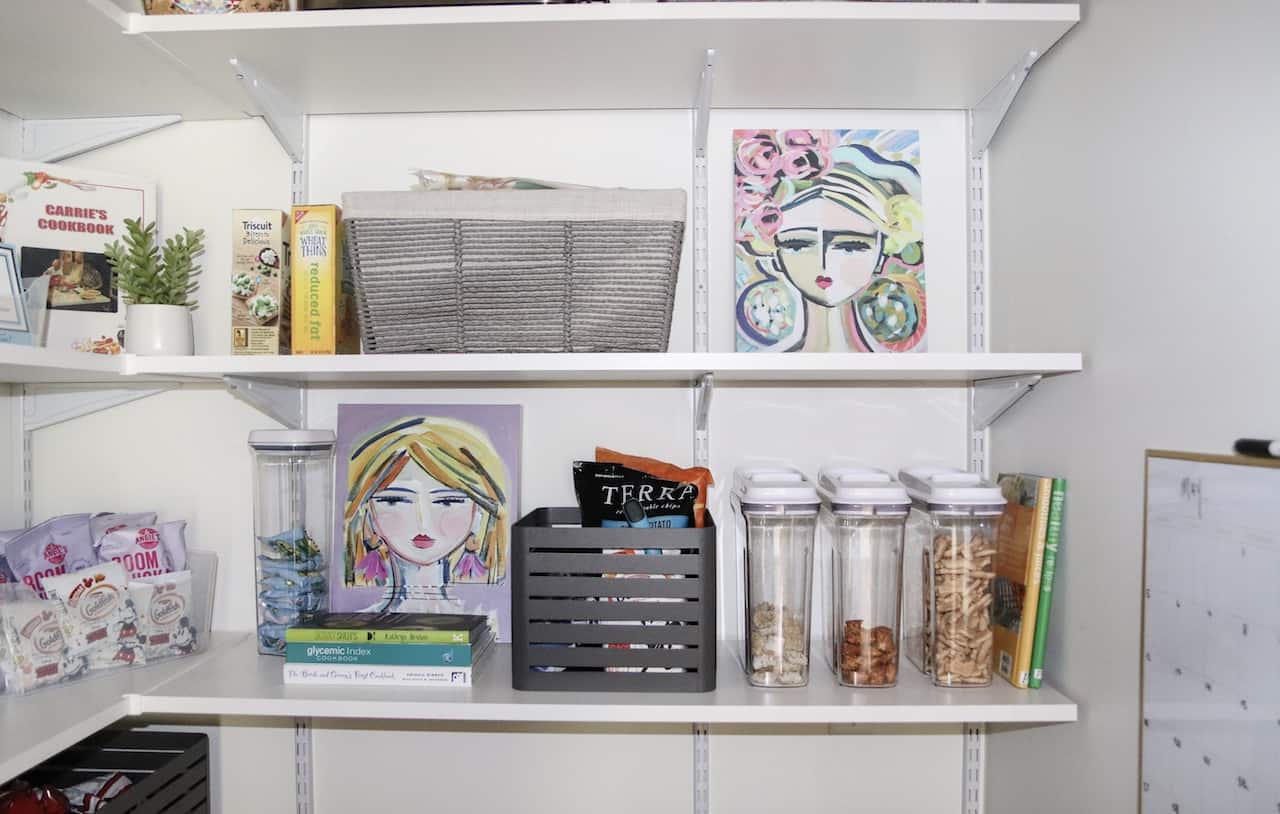
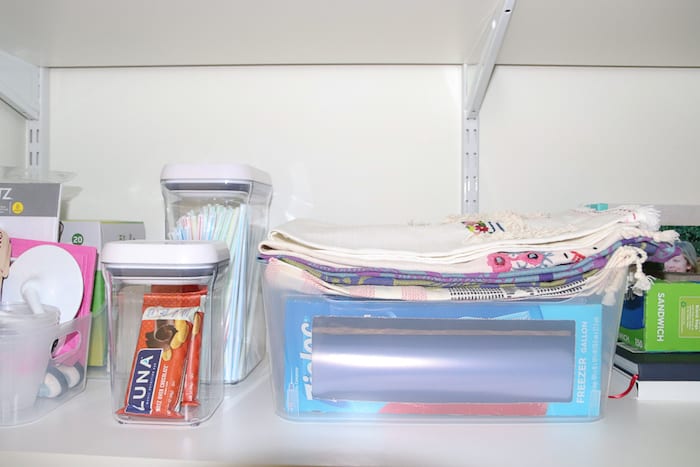
I ordered several clear bins and tight-close containers. I highly recommend clear storage because it makes it SO much easier to find what you’re looking for … and it’s more obvious when it’s time to add something to your grocery list! I also recommend tight-close containers because we all know that kids aren’t the greatest at closing cereal boxes and chip bags (at least my kiddos aren’t)!
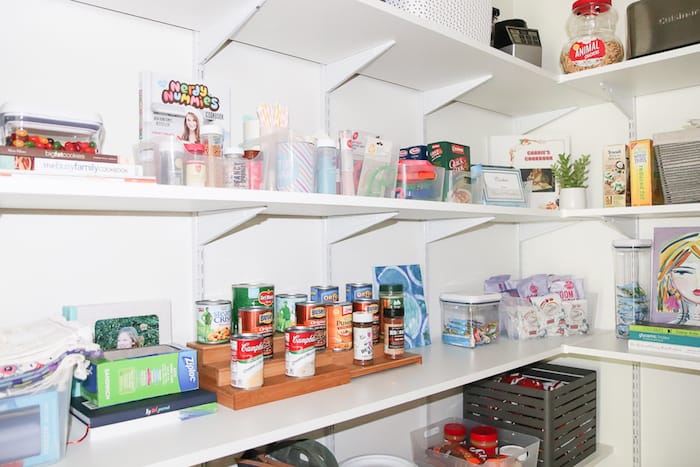
Also, consider using a riser to organize your canned food. This ensures no cans are hidden and forgotten about!
CONTAINERS I BOUGHT FOR MY PANTRY
2 | YOU MUST FIRST DECLUTTER!
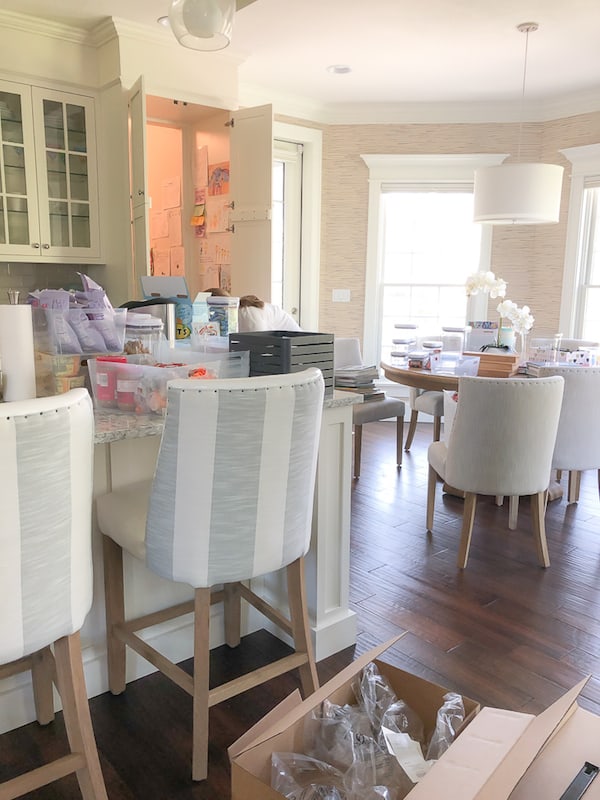
It’s about to get WAY messy in your kitchen before you can organize your pantry! It’s best to unload literally every single item out of your pantry. Create three piles: (1) KEEP (2) DONATE (3) TRASH.
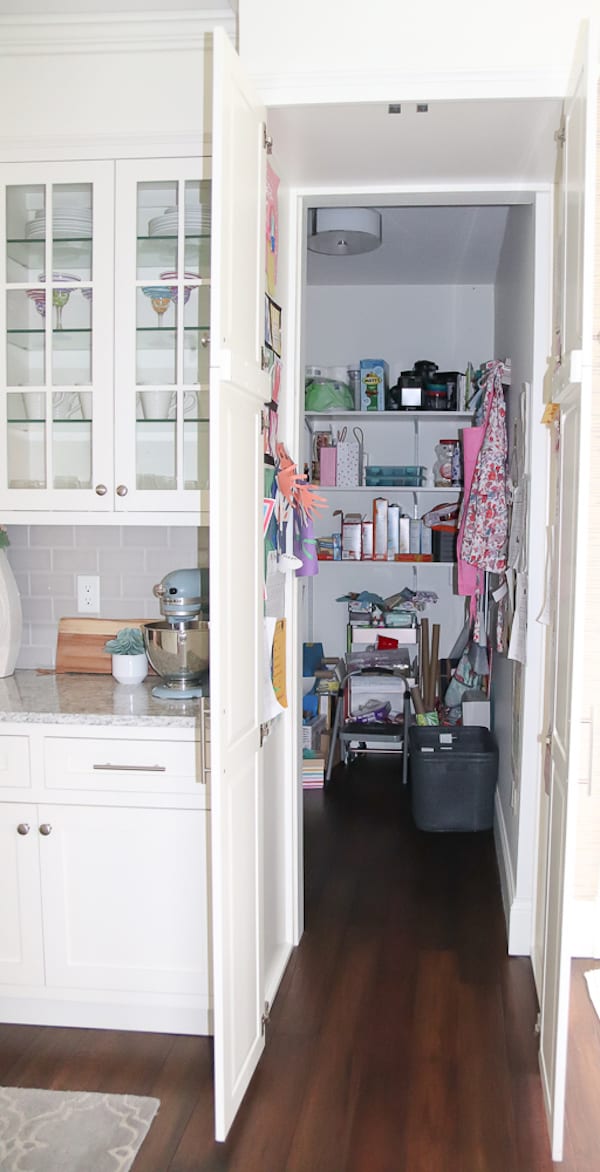
I completely emptied out my pantry and took some time deciding what I would keep, donate, and trash. To be perfectly honest, there was a lot of ‘trash’ … expired food, stale chips, half-completed coloring books, dried-up markers, etc.
At this point, your kitchen will look like a bomb just exploded in there! Not gonna lie … this MESS stressed me out!
I left any ‘KEEP’ items sitting in my kitchen, but I quickly moved ‘TRASH’ out to the garage and DONATIONS into my car. The less stuff stacked up on your kitchen counters, the more manageable this project will feel!
3 | GROUP SIMILAR ITEMS TOGETHER
Now it’s time to go through your ‘KEEP’ pile and group similar items … baking, cereals, canned food, boxed food, school lunch foods, paper goods, bread, peanut butter, etc.
4 | FILL YOUR STORAGE CONTAINERS
We’re getting closer to the finish line! This part of the project is kind of like a puzzle … you need to figure out the best container for each item (food and otherwise)! Fill up your containers and then shift things around if needed.
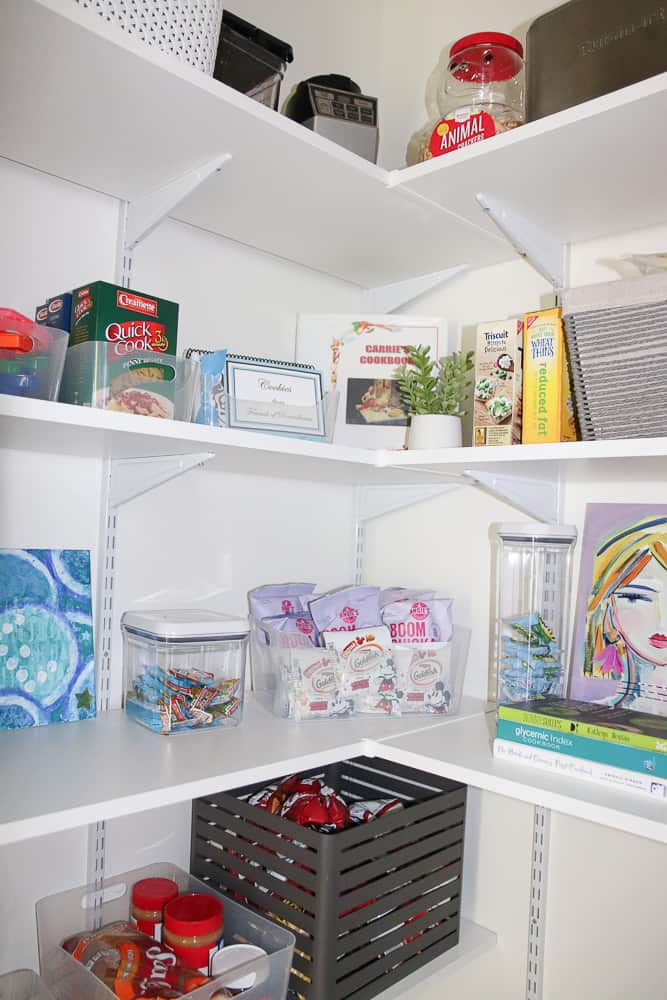
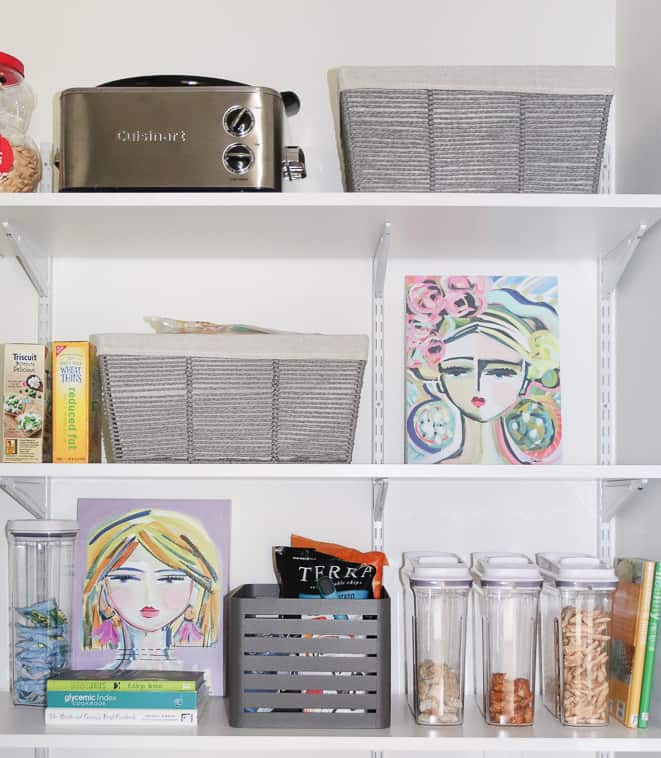
I love my cereal containers for storing not only cereal but also pretzels and animal crackers!
5 | RETURN EVERYTHING TO YOUR PANTRY
Now for the fun part … return everything to your pantry ONE THING AT A TIME! Give this some thought before you start. What makes the most sense for your family? What do you want to see first when you walk into your pantry? What are things you don’t want to see (e.g. cookies if you are tempted by these)?
What are things that your kids need easy access to? I kept all kid snacks and school-lunch foods on the bottom shelf so my kids could easily reach. Foods such as pasta and tortillas (i.e. dinner foods) are on a higher shelf because my kids don’t typically reach for these!
6 | REARRANGE GROUPINGS AS NEEDED
Once you have filled your pantry back up, take a good long look at it. Is there anything that would make more sense in a different place? If so, start rearranging!
7 | MAKE IT PRETTY! (my favorite tip)
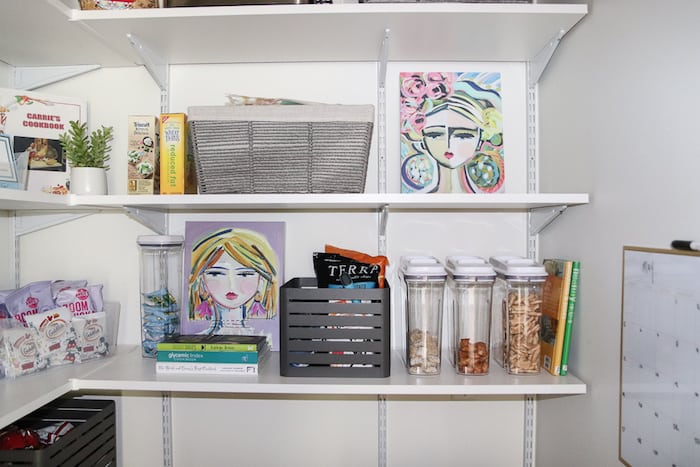
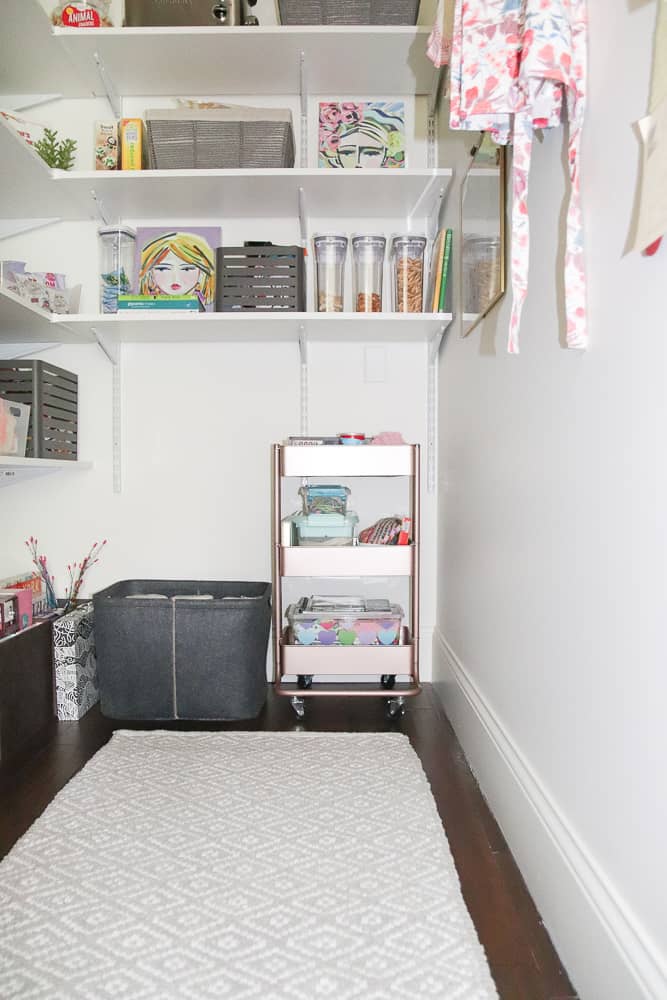
Just because this is a hardworking pantry doesn’t mean it can’t be PRETTY too! I wanted to get really creative and add wallpaper to my pantry … however, it just didn’t seem practical to take apart the wall unit, hang wallpaper, and then come back and put the unit back together! So I opted for another (less expensive and less time-consuming) way to get creative … I purchased beautiful canvas prints from one of my FAV artists on Etsy!
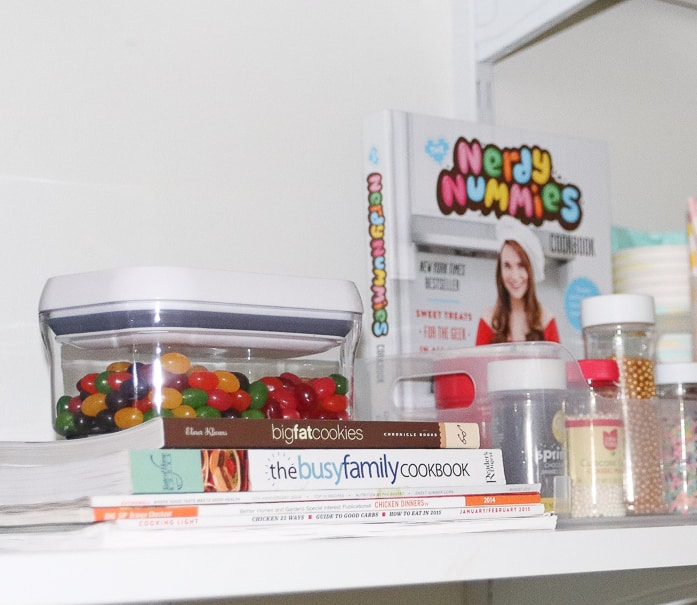
I also bought a fun little rug (under $25!) for my pantry to make it feel a little more cozy and warm! Another way to add color and texture is to display your dish towels and aprons in your pantry. Cookbooks also make GREAT decor!
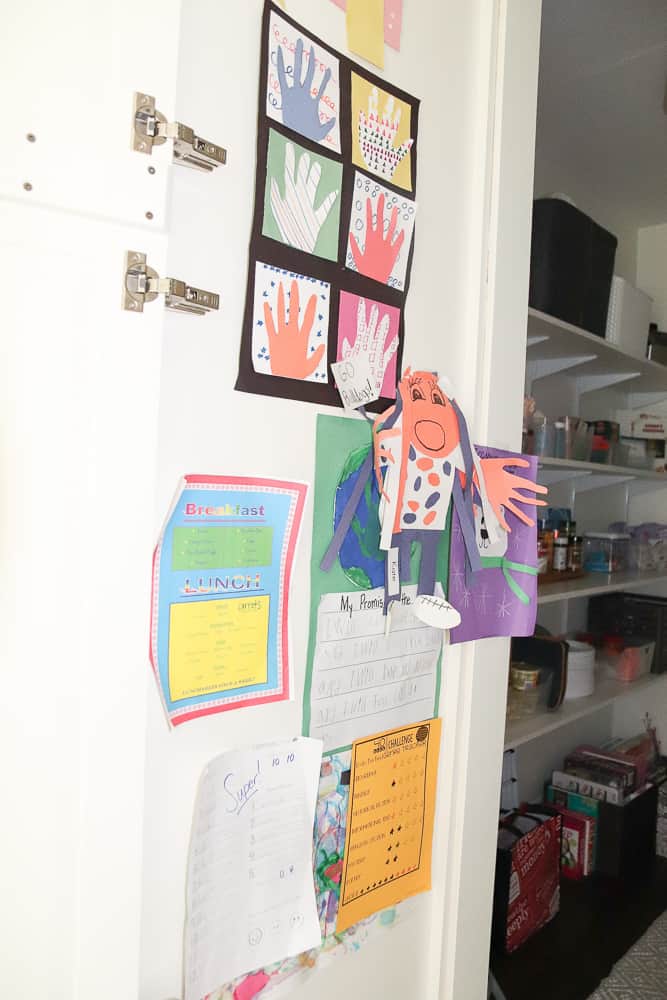
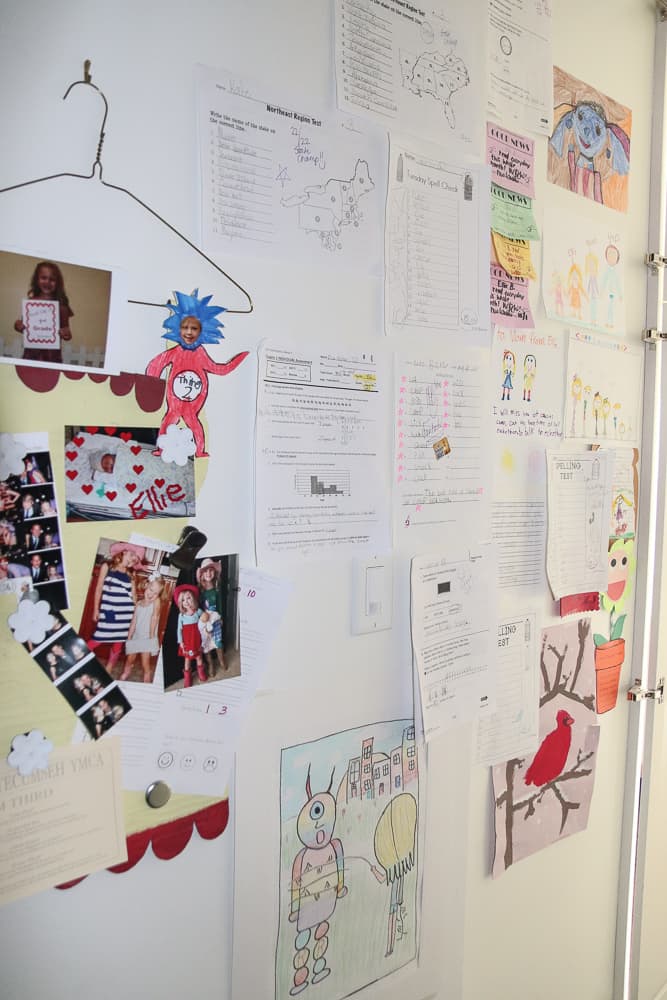
If you like to keep your kitchen uncluttered (like I do), the pantry is a FABULOUS place to hang all of your kids’ art and school work! My pantry tells a little story as you walk into it … it may look a little haphazard and ‘messy’, but I am NOT willing to take a single thing down! This is the story of my girls first spelling tests, first A’s on math tests, and art they made at school and brought home for mommy over the last five years!
CONCLUSION
I hope you now feel more ready (and excited) to start organizing your own pantry after reading my walk-in pantry makeover + organization tips! You can EASILY follow these steps and do a similar makeover in your own home! All you need is some fun (and practical) storage containers and one afternoon to dedicate to this project!
Below are many of the products I used in my own pantry makeover (see ‘Shop Pantry Storage + Decor’)! Get those babies (i.e. storage containers) ordered so you can get started on your project! No more letting overwhelm make you put your pantry project off! YOU’VE GOT THIS, GIRL!!!
SHOP PANTRY STORAGE + DECOR
