


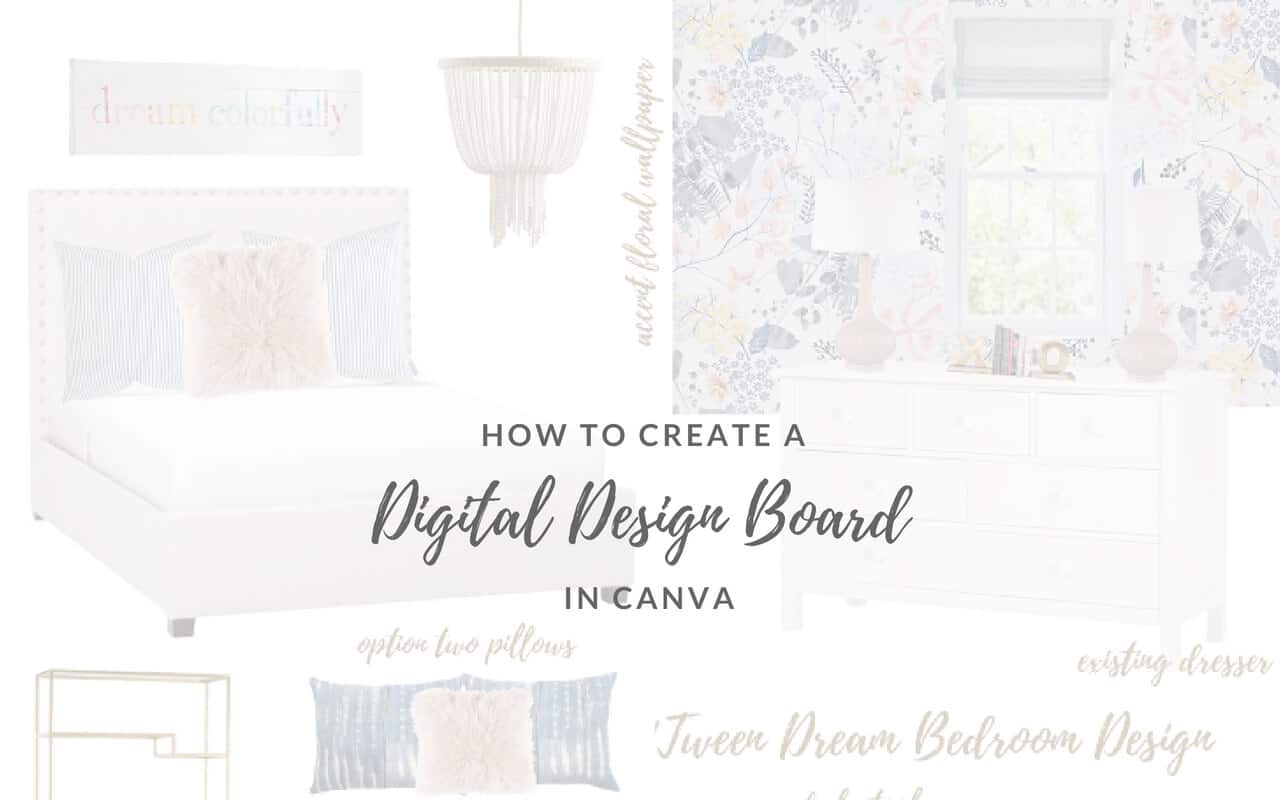
Digital design boards are SO helpful when choosing home décor or even choosing finishes for your new build or reno. Creating a design board is a valuable skill that you will find useful whether you are designing for clients, or you just want to see all your desired products in one spot! I have been asked numerous times how to create a board, so here you go … a step-by-step guide (and video) on how to create a digital design board in CANVA, a popular graphic design app.
Affiliate links are used in this post for your shopping convenience. Click here for my full disclosure policy.
 STEPS TO CREATE A DESIGN BOARD IN CANVA
These steps will make MUCH more sense after watching the video below! Promise!
- Make sure all product photos you want to use are in ONE folder on your computer or organized in a way that makes sense to YOU. I keep my product photos in folders categorized by retailer. You can gather product photos directly from retailer sites. You can either save the image or take a screenshot.
- Sign into Canva.
- Click on Create a Design in the upper left corner of screen. Choose what size of canvas you want to create. I prefer to do Custom Dimensions to fit my blog theme requirements. The custom dimensions option is a button above all the preset sizes.
- Upload all your desired product photos in Canva. Once uploaded, drag each photo into the canvas and drop into the position you want. You can size the photos up and down from the corner (see video because I just don’t know how to explain this!).
- If you want a product to be in ‘front of’ another product (e.g. a pillow in front of a headboard), click on Arrange and press Forward. Play around with the “forward and back” feature to better understand it.
- You can add text or numbers by clicking on the Text (T) tab in the left column. You can use Canva’s preset text options, or just the basic text. You can modify text color, size, and font once it is in the canvas. The color and text options are endless!
- Products, text, and numbers can all be moved around by clicking on the item and dragging.
- Once your design board is complete, make sure to SAVE it in Canva under File < Save (this is within the Canva application …. NOT File on your computer).
- Now you can Download (top bar) the design board to Pinterest or anywhere else you want it to go. I download to my computer so that I have a copy to easily upload onto my blog, emails, or social media.
CANVA DESIGN BOARD VIDEO TUTORIAL
The oh-so-professional video I created assumes you have a basic working knowledge of Canva. If you don’t, do a simple Google search and you will find a million tutorials! This is how I have learned all of my ‘tech skills’ … Google searches … and a little bit (well, a lot) of trial and error! Click HERE for the video tutorial.
CONCLUSION
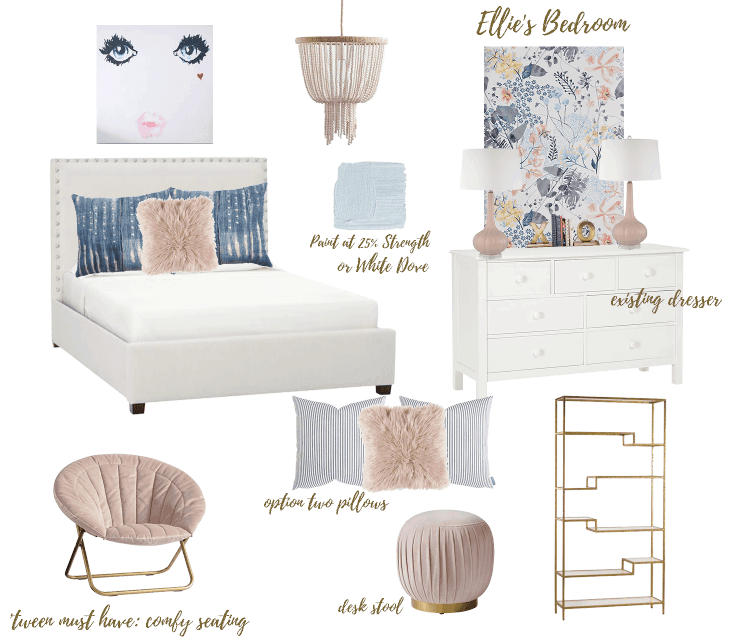
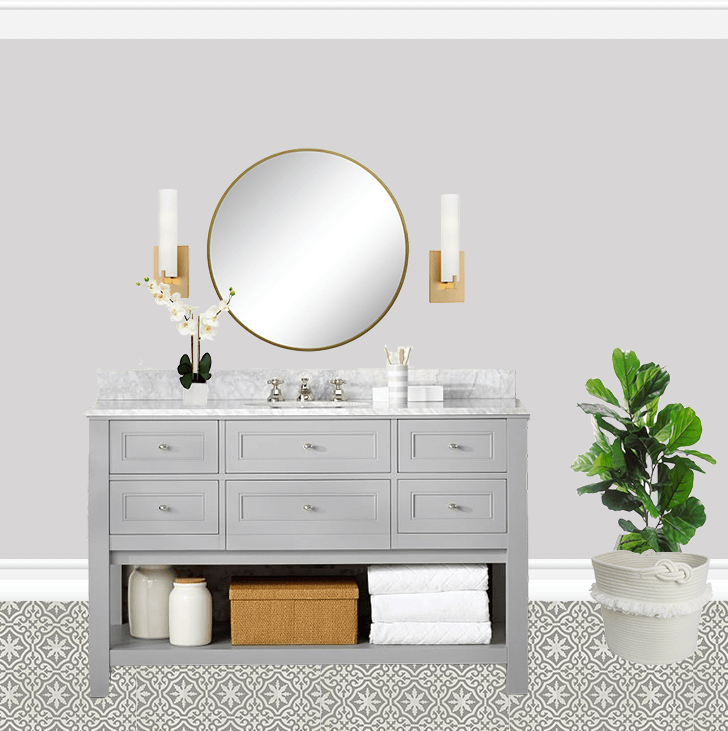
I hope the above steps and video taught you how to create a digital design board in Canva! Please comment below with any questions OR any other tutorials you might be interested in! Also, you can shop the ‘tween dream room and bathroom products below! If you are interested in my e-design services, you can learn HERE.


